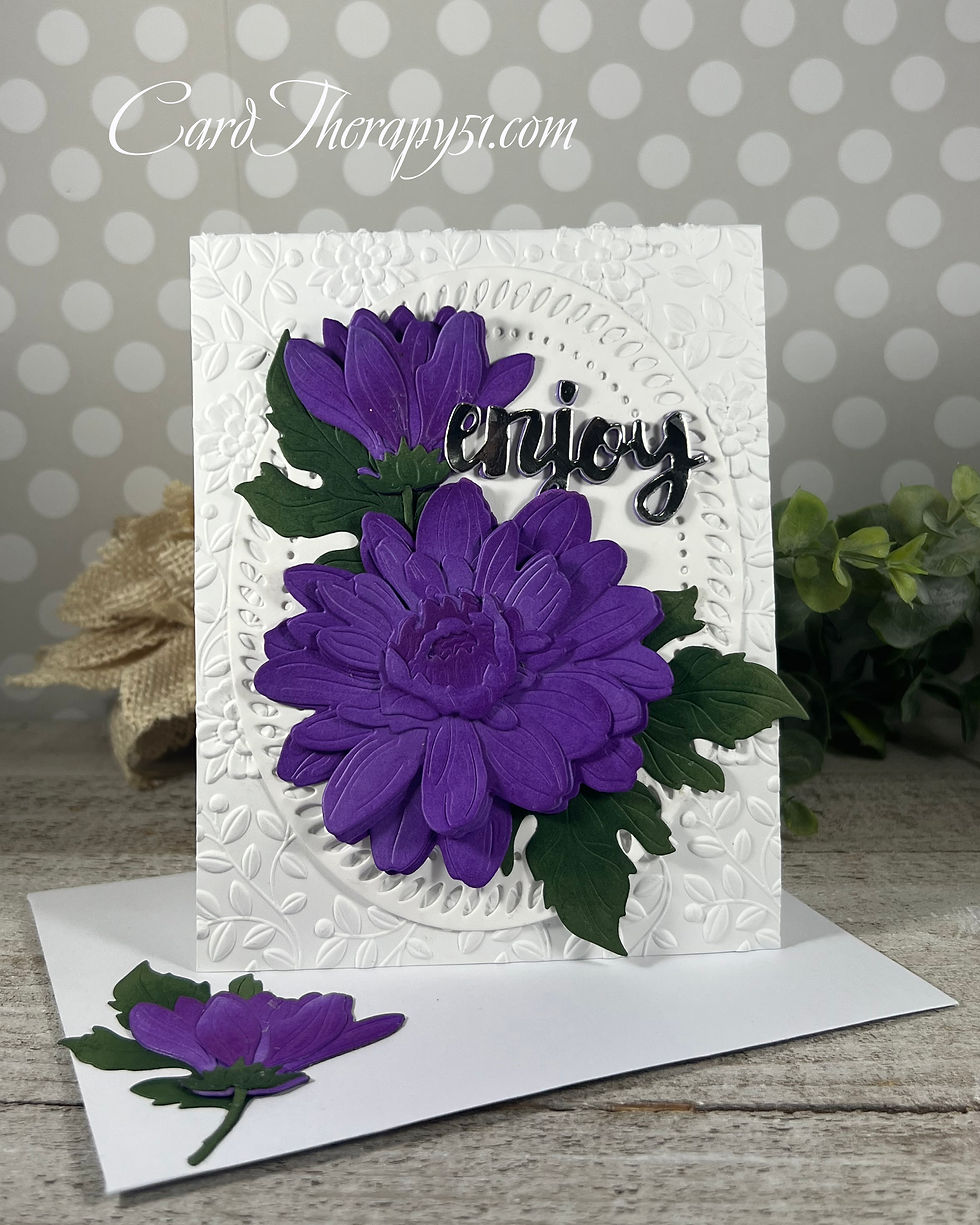
Today & Every Day Enjoy
- cardtheraphy51
- May 2, 2021
- 2 min read
We have friends come over last night for game night. Denise is my wonderful crafty friend and I showed her the flowers I had created for my previous card and told her it was so easy to assemble. Se wanted a demonstration so I created another flower from red cardstock scraps. This time I used a darker red ink to add dimension to the flower petals. Within five minutes I had die cut and assembled this flower. As with the previous card, this morning the ink blended edges had been absorbed into the cardstock, not as much as the previous card, but it still needed a little additional contrast. So I only used two Copic Markers to touch up the edges to the flower.
Often in the past when I have a single flower I want to showcase I pull out Avery Elle's Horizontal Stripes Background Die. It give a wonderful opening for the sentiment and a pretty curve to where the flower is adhered.
I couldn't find a stamped sentiment that would fit into the open space of the circle so I decided to combine a stamped sentiment with a die cut word. The flower and leaves were laid in place on a top fold A2 cardbase to determine where to stamp the sentiment. Once the sentiment was dry the card front was embossed with the Stampin' Up Subtle Embossing Folder.
The striped panel was added to the card front with liquid glue and the flower and leaves were adhered in place. The die cut word was also adhered in place with liquid glue and the card was done.

PRODUCTS USED:
· Stampin’ Up Peony Garden Die
· Altenew Paint-a-Flower Coral Sunset
· Simon Says Stamp Painted Enjoy Die
· Gina K. Designs Red Hot and Onyx Black Base Weight Cardstock
· Gina K. Designs 120# White Cardstock
· Neenah Classic Crest 80# Solar White Cardstock
· Green Cardstock from Scraps
· VersaFine Clair Nocturne Ink
· Altenew Grapevine, Shadow Creek and Hunter Green Ink
· Copic Markers R35, R32
· Nuvo Deluxe Adhesive
· Avery Elle Horizontal Stripes Background Die
· Stampin’ Up Subtle 3D Embossing Folder


Comments