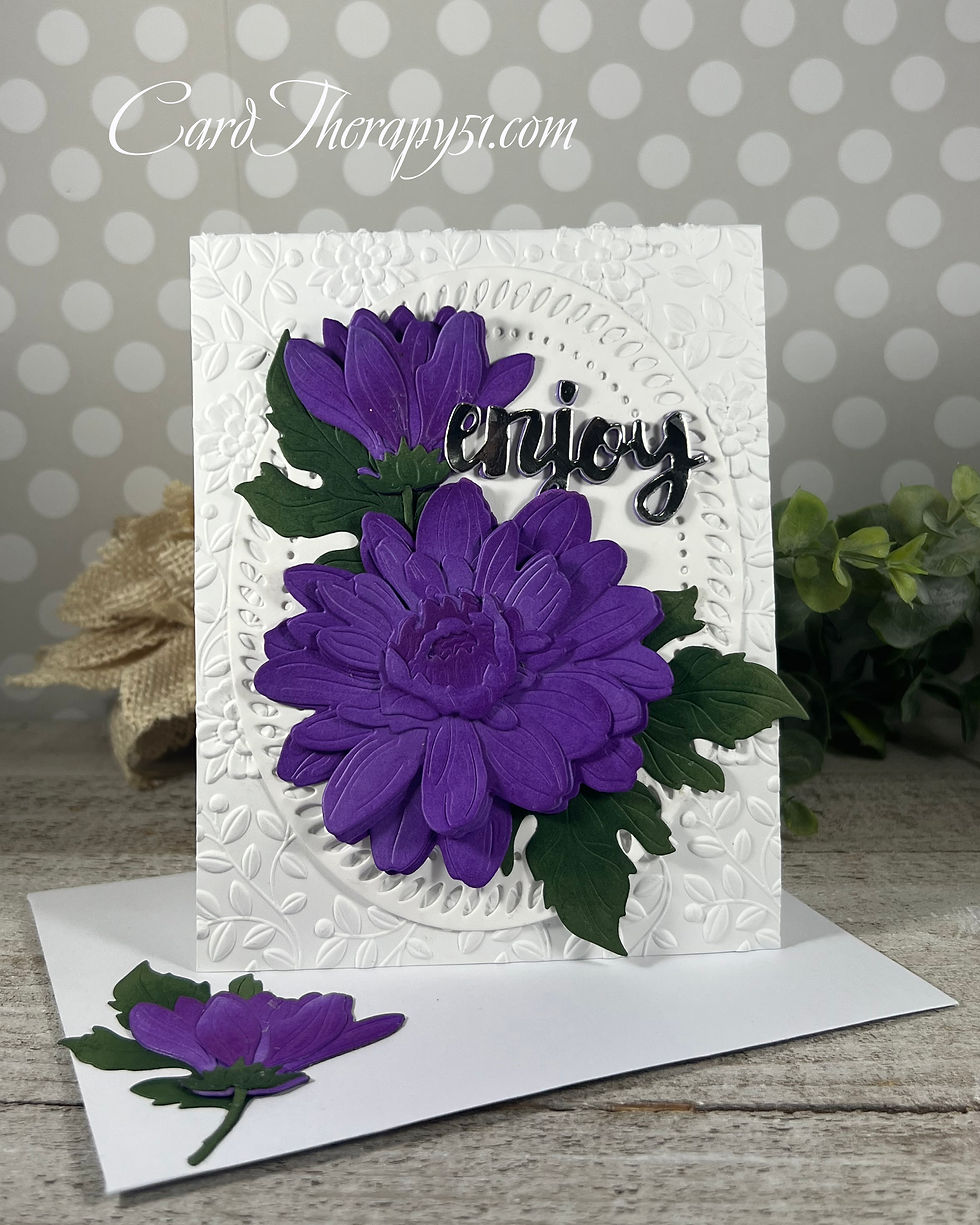
Sending Birthday Wishes With a Fine Bouquet
- cardtheraphy51
- Aug 16, 2022
- 1 min read
This pretty die from Altenew makes a quick and easy card. I cut it from white cardstock and then colored the petals with Copic Markers not caring if I went over the outline because I planned on adding two more layers of the outline on top. I added Press 'n Seal to the back of the image to keep all the pieces of the flower together and then adhered to extra outlines on top with liquid glue.
To add visual interest behind the flower a rectangle of white cardstock was cut with a stitched rectangle die and a background was added with a stencil and a light blue ink. This panel was adhered to the front of a side folding A2 cardbase. More Press 'n Seal was added to the front of the image and the back Press 'n Seal was removed and liquid glue was added to all the pieces of the image, which was then adhered to stenciled rectangle.
The sentiment was pulled from my stash of hot foiled sentiment and adhered in place with a strip of foam tape.

PRODUCTS USED:
· Altenew Fine Bouquet Die
· Spellbinders Glimmer Mini Everyday Sentiments
· Crafter’s Companion Papercraft Gold Hot Foil
· Honey Bee Stamps Sentiment Banner
· Copic Markers: R05, R02, R01; YR27, YR24, YR21; G28, G24, G21
· Simon Says Stamp Pawsitively Saturated Ink Tidepool
· My Favorite Things Basket Weave Stencil
· My Favorite Things A2 Stitched Rectangle Die
· Simon Says Stamp Big Mama Foam Tape
· Bearly Art Precision Craft Glue
· Nuvo Deluxe Adhesive
· Hammermill Premium Color 100# White Cardstock
· Gina K. Designs 120# White Cardstock
.


Comments