
Peony Garden Time to Celebrate
- cardtheraphy51
- May 29, 2023
- 2 min read
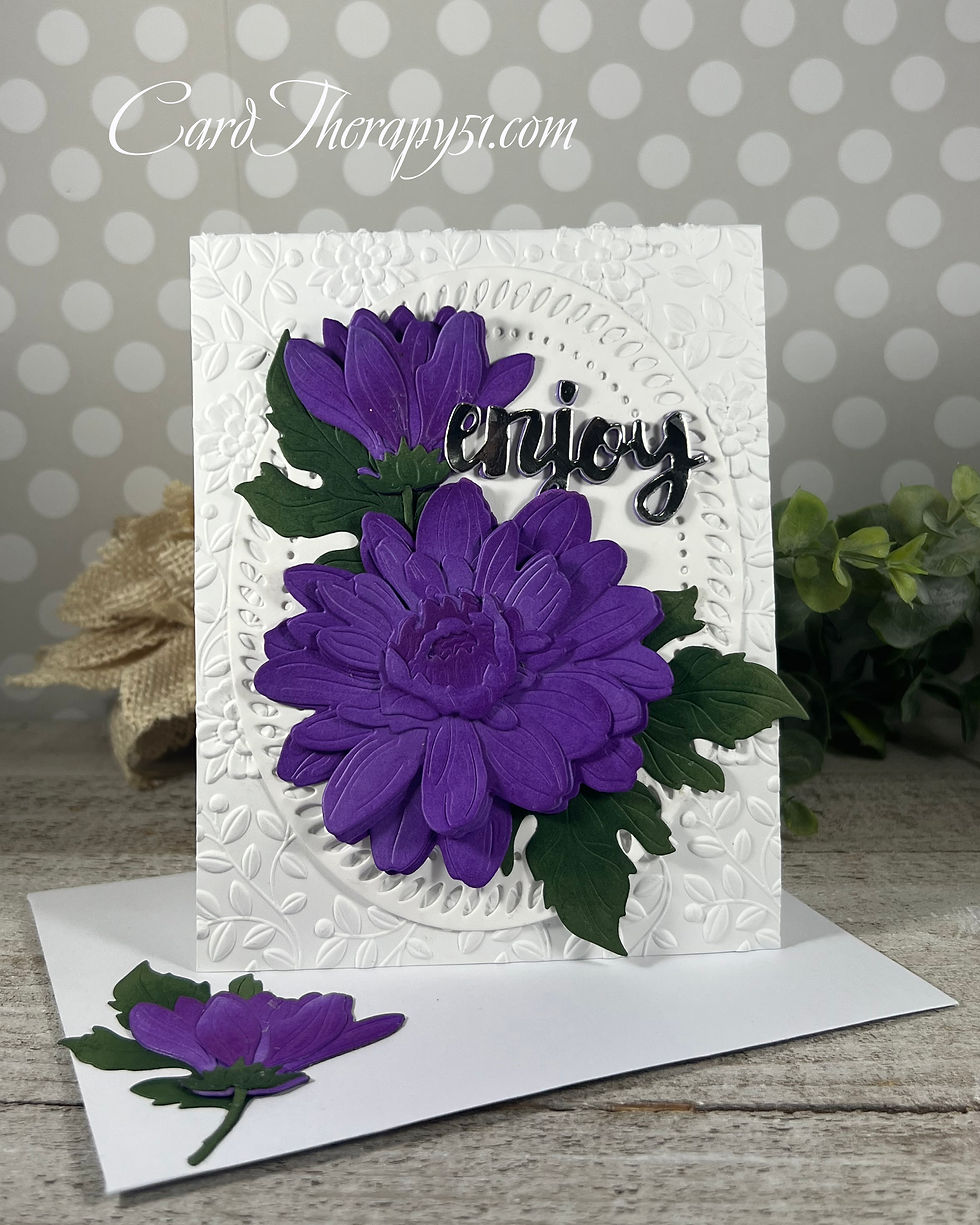
This card uses the background that I did not use on a previous card. I didn't want to waste it so I decided to pull out the Stampin' Up Peony Garden Layering Dies to create this card.
The layers of the flowers were cut from Gina K. Designs Cranberry Tart cardstock and the edges were ink blended with a darker red ink. This is a very simple design to layer and assembly is very quick. The leaves were cut from Gina K. Designs Grass Green cardstock and ink blended with two different green inks. The layers were adhered together with liquid glue.
The background uses Gina K. Designs Black Onyx cardstock. A panel was cut using a stitched rectangle die and then the center was cut out using a Hexi-Gem die. Black and white patterned paper was adhered to the back with liquid glue. Low loft foam tape was added to the back of the panel and it was adhered to a top folding A2 cardbase with dotliner adhesive.
The flowers and leaves were arranged on the background and adhered in place with liquid glue. At the last minute I decided to add an accent flower die behind the red peony flowers. The back flower was adhered with liquid glue and the front flower with low loft foam tape.
The sentiment was hot foiled and cut into a sentiment strip with a Honey Bee Sentiment Banner die and adhered over the lower flower with low loft foam tape.

PRODUCTS USED:
· Stampin’ Up Peony Garden Layering Dies
· Gina K. Designs Botanical Duo
· Spellbiners Glimmer More Sentiments
· Crafter’s Companion Gold Hot Foil
· Altenew Grapevine, Fresh Leaf, Lime
· Copic Markers: B01, B000; G24, G21, G20
· Triveni Crafts Rhinestones Multi
· Spellbinders Hexi-Gem Dies
· The Paper Studio Harper’s Boutique Paper Pack
· Gina K. Designs Base Weight Onyx Black, Cranberry Tart and Grass Green Cardstock
· Hammermill Premium Color 100# White Cardstock
· Honey Bee Stamps Sentiment Banner Die


Comments