
Into the Blooms Happy Birthday
- cardtheraphy51
- Apr 26, 2022
- 2 min read
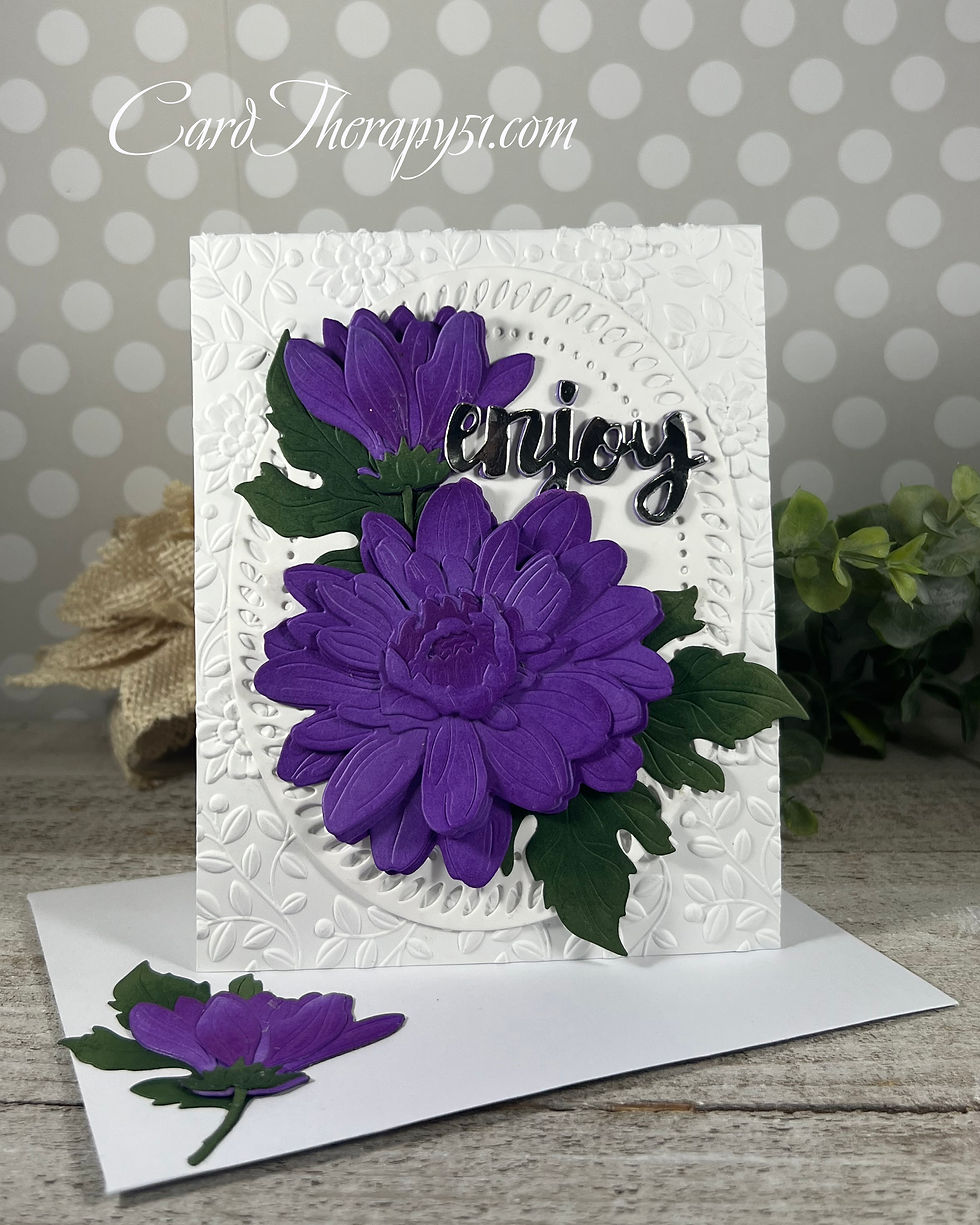
This is another die I purchased because my friend Denise made some beautiful cards using it. This layering die is harder to use. It doesn't have any layering instructions and there aren't any videos out there showing how to put it together. I did find some great photos and I used those to help be determine how to place the layers. Each flower has four different layers, and after some trial and error I really like the way it turned out.
I cut each layer from Neenah Classic Crest 80# Solar White Cardstock and then ink blended them with Distress Oxide Inks. For the roses I used three different inks and the leaves and smaller flowers only used two. I used some Simon Says Stamp Big Mama Foam Tape on the first three layers to provides some dimension to the rose petals and adhered the top layer in place with liquid glue.
A decorative panel was cut from white cardstock and the flowers and leaves were arranged. The smaller flowers and leaves were adhered in place with liquid glue. The two roses were adhered with foam tape.
I wanted to add some visual interest behind the decorative panel and dry embossed the front of a top folding cardbase with the Stampin' Up 3D Argyle Embossing Folder. The panel was adhered in place using Simon Says Stamp Big Mama Foam Tape.
For the sentiment I went to my stash and pulled out a small Happy Birthday gold foiled sentiment banner and adhered it in place with liquid glue.

PRODUCTS USED:
· Papertrey Ink Into the Blooms – Roses
· Spellbinders Glimmer Mini Everyday Sentiments
· Distress Oxide Inks: Squeezed Lemonade, Mustard Seed, Wild Honey, Mowed Lawn, Rustic Wilderness, Broken China
· Little B Frames
· Neenah Classic Crest 80# and 110# Solar White Cardstock
· Gina K. Designs 120# White Cardstock
· Stampin’ Up Absolutely Argyle Embossing Folder
· Simon Says Stamp Big Mama Foam Tape
· Bearly Arts Precision Craft Glue


Comments